For this tutorial, you will add to the project that you created in Tutorial 4. If you did not do Tutorial 4, then review the steps for creating the project and adding files to it.
Download these files to the ProgrammingActivitiesFiles directory that you created in Tutorial 4.
Before you modify the files, I want you to move them to a directory inside
the Source Packages folder. Reivew these steps in Tutorial 3
for screen shots.
Source Packages and select New -> Java
Package.
username.ch8.one (replace
username with your webmail user name). Click Finish.
Cut.
Paste ->
    Refactor Move
. It is very important that you select Refactor
Move and not just Move. When you refactor, it changes
all the files that are affected by the move.
Refactor.
Only edit the ArrayPractive1.java file. You are to add code
to several methods in this file.
fillValues.
animate method is called each time the array
is changed.
animate method..
animate method as the last statement inside the loop.
Pass the current index to the animate method.
setValues method.
value that
is passed to the method.
value that is passed to the method in order
for the program to work correctly.
value, other parts of the program will read
the value and send it to the method.
animate method as the last statement inside the loop.
Pass the current index to the animate method.
countFrequency method.
value that is passed to the method.
value that is passed to the method in order
for the program to work correctly.
value, other parts of the program will read
the value and send it to the method.
animate method as the last statement inside the loop.
Pass two parameters to it.
animate method
animate method.
findMinimum method.
value that is passed to the method in order
for the program to work correctly.
value, other parts of the program will read
the value and send it to the method.
animate method as the last statement inside the loop.
Pass two parameters to it.
animate method
animate method.
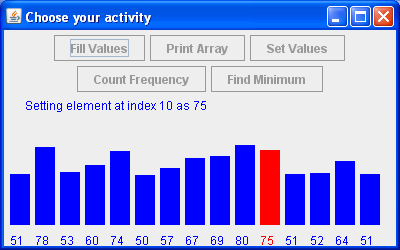
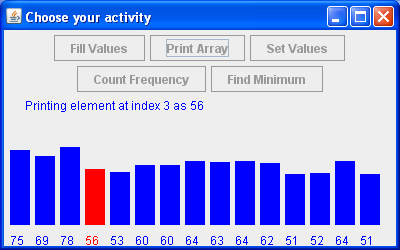
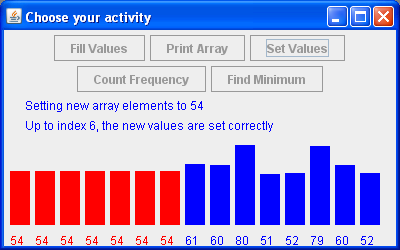
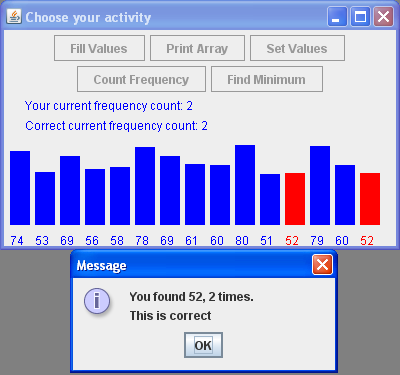
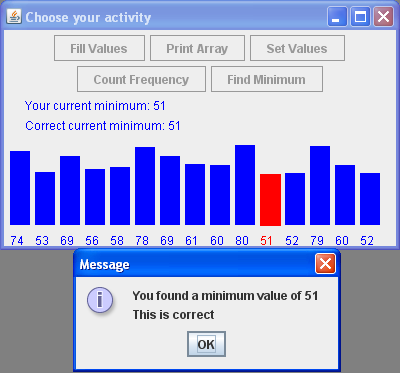
Run the program and try each of the buttons several times. Here are some screen shots of what the output should look like.
| Filling the array with new values. | Printing the values from the array. |
|---|---|
 |
 |
| Setting all the elements in the array to the same value. | Counting the number of elements that equal a value. |
 |
 |
| Finding the minimum value in the array. | |
 |
Download these files to the ProgrammingActivitiesFiles directory that you created in Tutorial 4.
Before you modify the files, I want you to move them to a directory inside
the Source Packages folder. Reivew these steps in Tutorial 3
for screen shots.
Source Packages and select New -> Java
Package.
username.ch7.one (replace
username with your webmail user name). Click Finish.
Cut.
Paste ->
Refactor Move. It is very important that you select Refactor
Move and not just Move. When you refactor, it changes
all the files that are affected by the move.
Refactor.
Only edit the Airport.java file. You will be creating instance
variables and instance methods for the Airport class. There
are more detailed instructions in the Airport.java file, but
here is a short list of things that will be done in the assignment.
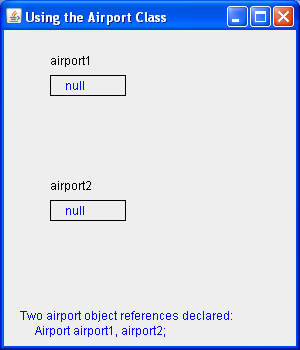
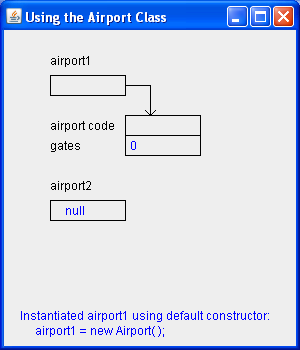
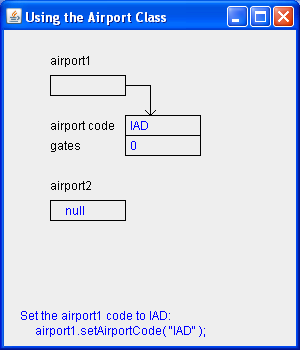
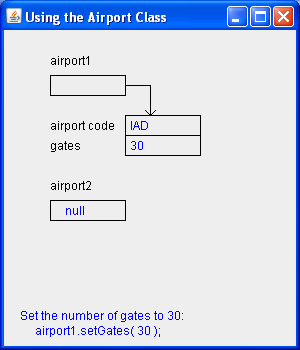
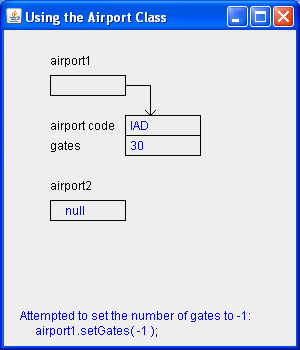
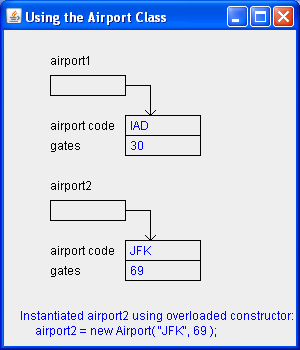
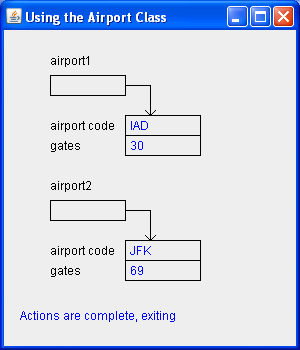
Run the program. Here are screen shots of what to expect. Be sure that your screen shots match these.
 |
 |
 |
 |
 |
 |
 |
To submit the tutorial, perform a Clean and Build on for the project. Be sure that you have followed the instructions for adding .java files to the JAR file before you do this step. If you are not sure, then review the steps in the Creating a NetBeans Project from Existing Sources page; it is in the section on Submitting Assignments.
You can verify that the JAR files are correct by clicking on the Files tab in NetBeans; open the project folder; open the dist folder; expand the JAR file. You should see the .class and .java files in the JAR. If you only see the .class files, then you need to review the instructions for adding the .java files. This is the same for NetBeans 5.5 and 6.
Using the operating system, not NetBeans, navigate to the dist directory for the project and upload the JAR file to me: Submit Assignment.